
It’s time to face some hard facts. Store bought sausages suck. We’ve decided to create this illustrated guide so that you can make your own. This page is packed with information to teach you how to make real sausage that tastes fresh and full of flavor. By the end of this page you’ll be on your way to becoming a salumist, aka sausage guru.
→Fun Fact: Say Jesus backwards and you get sausage!←
A brief history of mainstream sausage
We could bore you with a long-winded history of sausage making but that’s not why you’re here. So to keep things simple, here is our view of sausage making over time. From its invention up to now.
During this time sausage would have been nasty. Imagine peasants using sheep entrails in unrefined casings. There’s nothing much good to say about this era. The sausage was a convenient way to package and store meat without it going off.
Over the centuries, we refined our skills. Sausages developed from an archaic staple food to delicious meals. Each region, particularly in Europe, created their own version of the sausage. A great deal of pride was associated with their local sausage.
Enter the supermarkets. With a focus of mass producing food and cost reduction, the sausage was simplified and fillers were added. The quality of mainstream sausages took a steep dive.
Of course, there were still some artisan butchers, salumists (high end sausage manufacturers) and at-home amateurs keeping the traditions alive. Many produce excellent sausage. But in general, the supermarkets dominate with their meat products.
The next phase: enter the salumist
A salumist is a maker of excellent sausage, salami and other meats. Achieving the status of salumist doesn’t happen overnight. There is an art to making sausage and, as with all arts, it takes time to develop and hone your skills.
We have developed this resource page to help more aspiring sausage makers learn how to make sausages at home.
Why you should become a sausage expert
Before we get started you may be asking why should you make the effort to make your own? It’s much easier and cheaper to pop down to the store and buy some. Let me address that now.
→ take your taste buds on a ride they’ll never forget (in a good way).
→ discover the joy that comes from doing it yourself.
→ wrestle back some control of what you’re putting in your body.
→ create flavours that you love – ones you couldn’t buy in any store.
→ produce bulk sausage with other friends or family and save money.

What tools you’ll need to get started making sausage
There are a few tools and appliances you’ll need when you enter the world of sausage making. They range significantly in price so make sure you shop around to choose the tool that suits your needs.
Keep in mind that although there is an up-front cost, you’ll recuperate this money over time by producing truck loads of meat. More importantly, who can put a price on the happiness you, your family and friends will get from your new found hobby.
Of course, there are ways to cut back on some of these costs but if you’re serious about doing this right, I strongly recommend getting the required equipment.
Recommended Tools
→Did you know? The hot dog is the most popular sausage in the U.S.←
How to make sausages: a step by step guide
Okay, you’e let’s get started making sausage!
Phase 1: Getting set up.
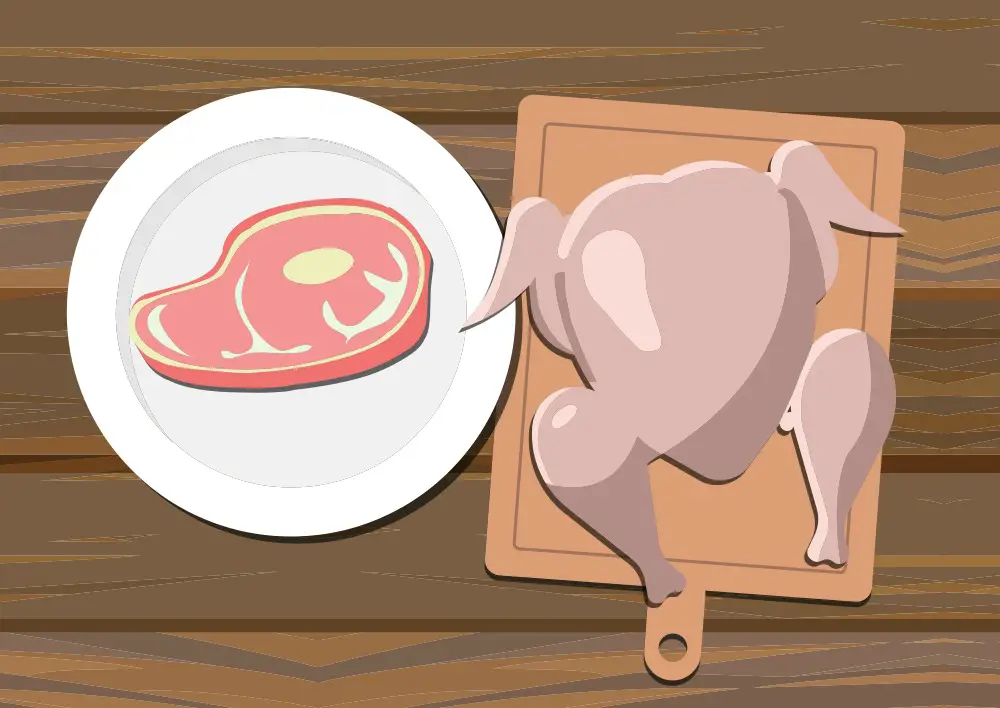
1. Decide on a recipe and buy the ingredients
What’s your sausage of choice? A spicy chorizo, a breakfast chipolata or maybe a Bratwurst? The choices are many so either get yourself a cookbook or search online for an enticing recipe. We’ve got a selection of our favourite sausage recipes so you’ll probably find something there as well.
Once you know what you’re going to make, go forth and buy, hunt or borrow the required meat. At this stage, a set of quality butcher knives will make life a lot easier.
You’ll also need to get your hands on some sausage casings. You may be able to buy them from a specialty food store or butcher. If all else fails, you can always get them online.
Check the recipe and feel free to make changes to the seasonings. I find flavours are very subjective so don’t be afraid to leave out paprika if its not your thing.
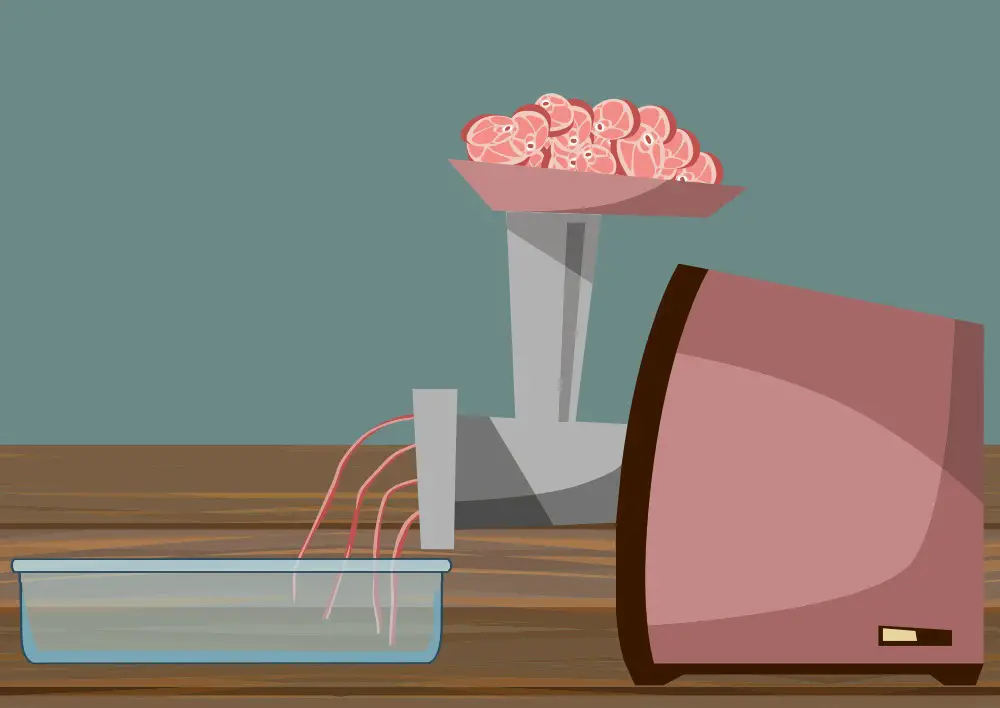
2. Source a meat grinder

Technically, this isn’t essential. You can always use this guide to grind meat without a grinder. But if you’re planning on making sausages frequently you’re much better off buying a grinder. This allows you to churn through meat like a beast.
Also, you’ll be able to grind the meat to your exact requirement (or to the size in the recipe). Most grinders will come with a fine and coarse grinder plate. Others will have a wide range of plates – a flexible grinder is a bonus.
Types of grinders
Grinders come is a vast array of sizes, shapes, colors and price ranges. To see some of the best on the market head over to our meat grinder reviews page.
Hand crank grinder
This option is ideal if you’re only going to be making sausages occasionally is small quantities. They usually clamp onto your counter and get put away after use. Because they’re small, they are well suited to apartments.
Electric grinder
These are motorized so you don’t have to sweat and toil on the end of a crank. The price for these models varies hugely depending on factors like capacity, build quality and motor size. When choosing a model, don’t base your decision on price alone.
Stand mixers
Do you own a KitchenAid mixer or one of those other high quality mixers? For many of these models you’ll be able to buy an attachment that allows you to grind meat. Be sure to check out this option if you have one.
3. Get yourself a sausage stuffer

You can skip this step if your meat grinder already has a stuffer attachment. For the rest of us, you’ll need a stuffer. Without it you’ll be stranded. You can try to manually poke the meat into the casings but this would be tedious, hard work and the end result would be nowhere near as good. There are some experts who can stuff sausages with just their hands; however, if you’re on this page you probably aren’t one of these. Get a sausage stuffer.
You do have the option to simply shape the ground meat into rectangular shapes or into patties. This is okay but it won’t allow the flavors to blend as well as they do inside a casing. Also, they do look better neatly shaped into a casing.
4. Select the right casings
Most shops that sell casings will have salted pork casings. These are very popular and are versatile: they can be used in a wide range of sausage recipe. Other options for casings include collagen casings and cellulose casings. For a more in depth look at casings check out our quick sausage casings guide.
5. Prep the meat and equipment

It’s time to chill everything. Having a good sized freezer will be a huge help at this stage.
You’re going to need to chill:
- your meat
- meat grinding equipment
- bowls
- stuffer components
- anything else that comes into contact with the meat.
Toss it all in the freezer to cool. This step is crucial so don’t skip it. Ever.
Why does everything need to be so cold?
You want the meat to be firm but not frozen solid. Why is this important? Because the fat needs to stay hard during processing. If it softens you’ll struggle to create an emulsion with the meat and fat. The end result? A sausage that has the fat separated from the meat and nobody wants that.
Chilled meat will also help you process it more efficiently. It’ll run through the grinder a lot smoother if it is partially frozen.
The sausage making tools should be very cold, but not to the point that you can’t touch them.
What’s the weather like right now in your part of the world? If it’s warm, you’ll find the equipment and meat may warm up quickly. If this happens at any stage during the process, toss everything back in the freezer to cool again.
Phase 2: Meat Grinding
1. Make a bath
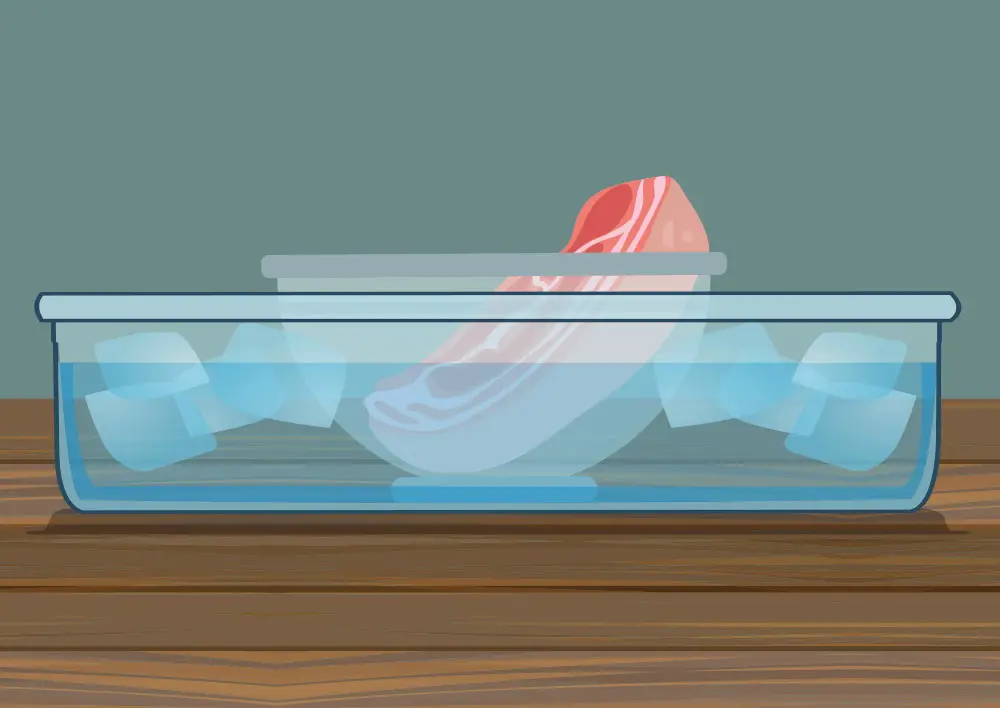
Ready for a bath? Well you can’t yet sorry. But your meat needs to be placed in an ice bath once it’s removed from the freezer. This will keep it nice and cool as it awaits its cruel fate.
2. Chop up the meat
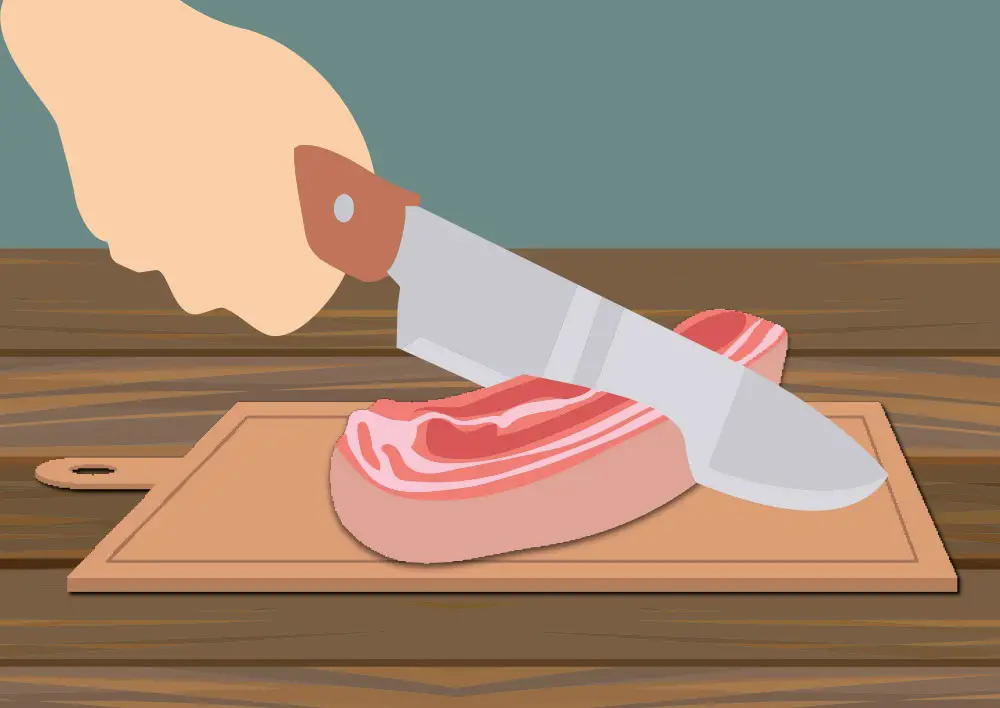
Chop your meat into small pieces, about 1” in size. Keep in mind though, they need to be small enough to feed through the opening in your meat grinder; so you may be able to cut them up bigger.
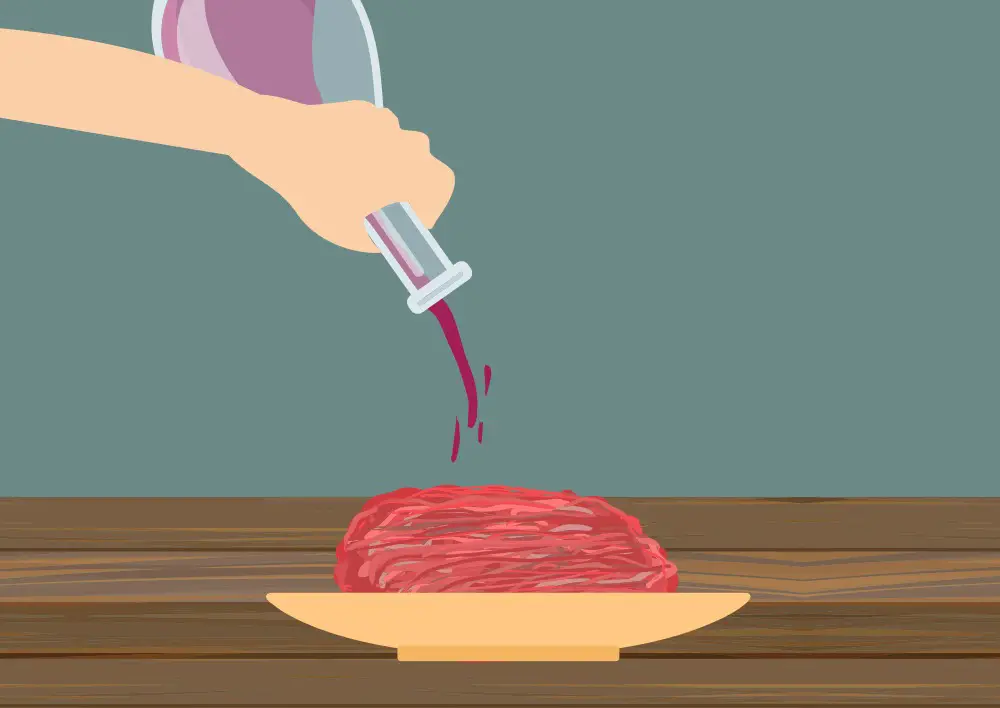
3. Mix up the ingredients

Combine the meat, seasonings, optional curing salts and extra fats to a bowl and mix with your hands. Work as quickly as possible so that the meat doesn’t have time to warm up.
4. Freeze the meat again

Once everything is nicely combined, cover the bowl with plastic wrap and freeze again for 30 minutes until firm. Don’t allow the meat to fully freeze. It will be difficult to grind.
At this stage you can remove the casings from the freezer and follow the instructions to soften and soak them. Check out this super helpful guide to casings for more information.
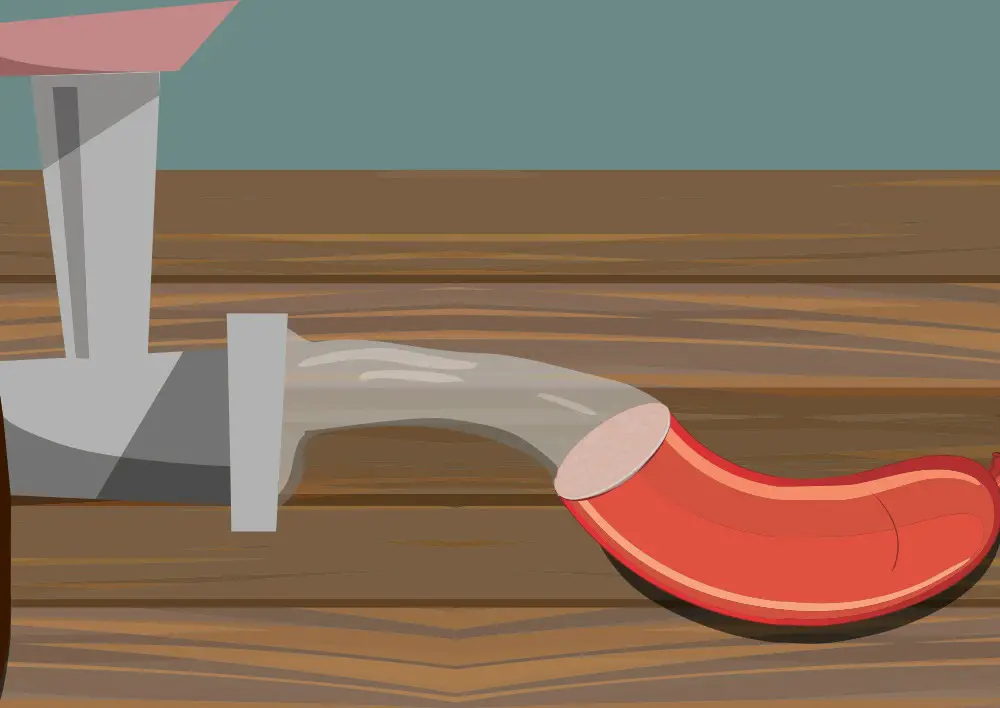
5. It’s time to grind
Take out the grinder parts from the freezer and set it up on the bench or table. You’ll need to decide which grinding plate to use: coarse, fine or something in between? This often comes down to personal preference. You’ll be likely to settle on a favorite grinding size as you become more experienced.
Position the chilled bowl under the grinders spout so that you can collect the meat as it extrudes. Remove the meat from the freezer and start feeding it into the meat grinder. At some stage, you may need to place the meat back in the freezer to harden again. Once you’ve ground all the meat you can place plastic wrap over the top and add to the freezer again for another 30 minutes.
I recommend you use the 30 minutes to wash your grinder and the other dirty equipment. It is a lot easier to clean the fresh meat off immediately rather than letting it dry on the machine.
6. Finish preparing the meat
Finally, you can remove the meat from the freezer and mix any other wet ingredients that you have chilling in the fridge. For many recipes, this step won’t be needed. To mix the ingredients a powerful stand mixer is good, otherwise use your hands. Be warned, it gets cold on the hands though! You’ll need to mix until the meat holds together in a big clump.
To stuff or not to stuff?
If you aren’t going to stuff the meat into casings, your job is done. You can now shape them into patties and cook or store them in the fridge or freezer in an airtight container.
If you’re using a stuffer, then your job isn’t quite done. Keep reading.
Phase 3: Sausage stuffing
1. Prepare the equipment
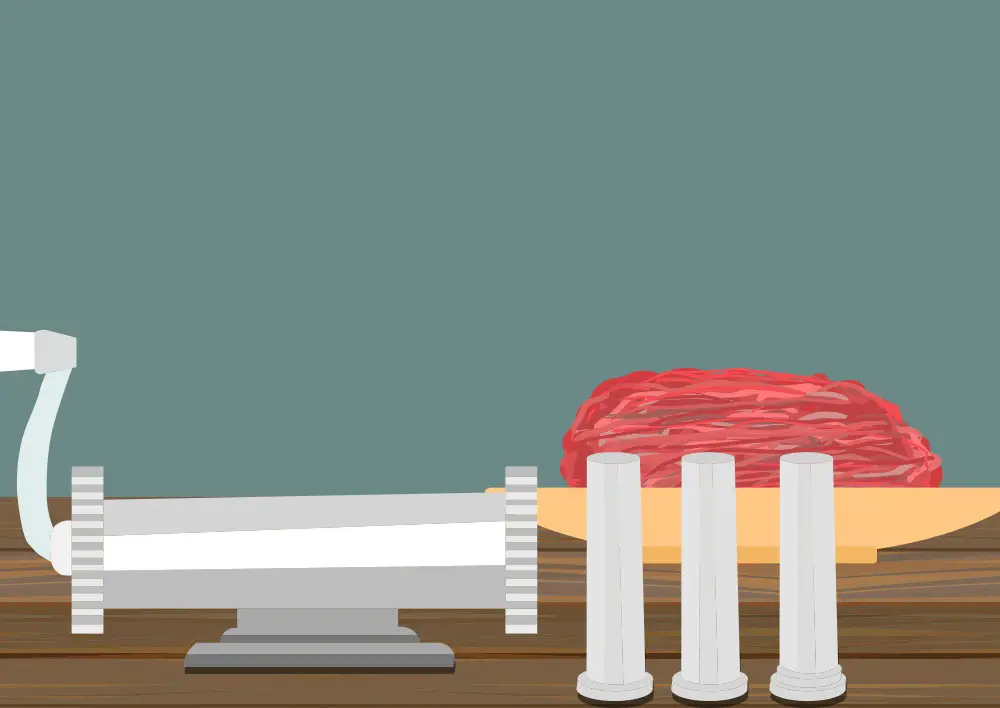
Firstly, remove the sausage stuffer equipment from the freezer and position on the bench or table.
Run some water over and through the casings to remove any residual salt, then place them in a bowl of water. It is always a good idea to drape one end of the casing over the side of the bowl or you’ll have a nightmare trying to find each opening.
Try to be as gentle as possible when working with the casings. You want to avoid damaging them – even a small hole will cause problems.
Position a large, cold plate near the sausage stuffer. This is where you’ll place the sausages when they’re made.
Remove the sausage meat from the freezer.
2. Get stuffed!
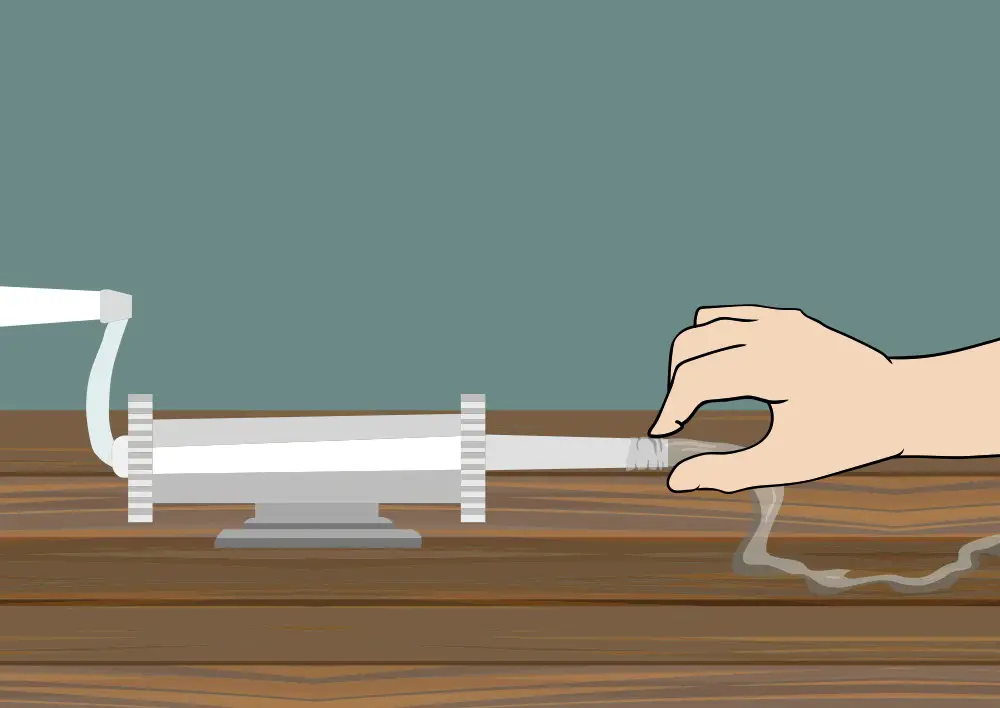
Slide the sausage casing over the nozzle. There needs to be a casing tail hanging off the end of the stuffer, about 8” in length. Tie the end of the casing in a knot. This tail is where the first sausage meat will fill. It will be your first sausage!
3. Pump the meat

Place all your meat into the stuffer and start pumping sausage as slowly as possible into the tube. As the meat fills the tube, you’ll feed out more casing. Shape the sausage into a coil shape so it’s easier to handle. If you fill an entire casing, tie off the end and attach another casing.
As you get used to your sausage stuffer, you’ll find it gets easier. Some of the better models have more than one speed setting so you may want to crank up the speed at some point.
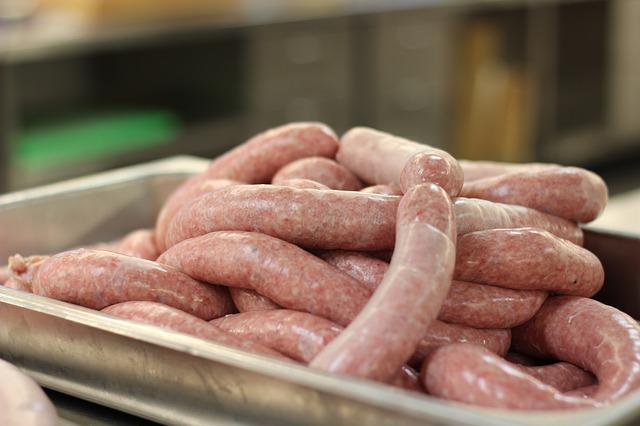
4. Link the sausage
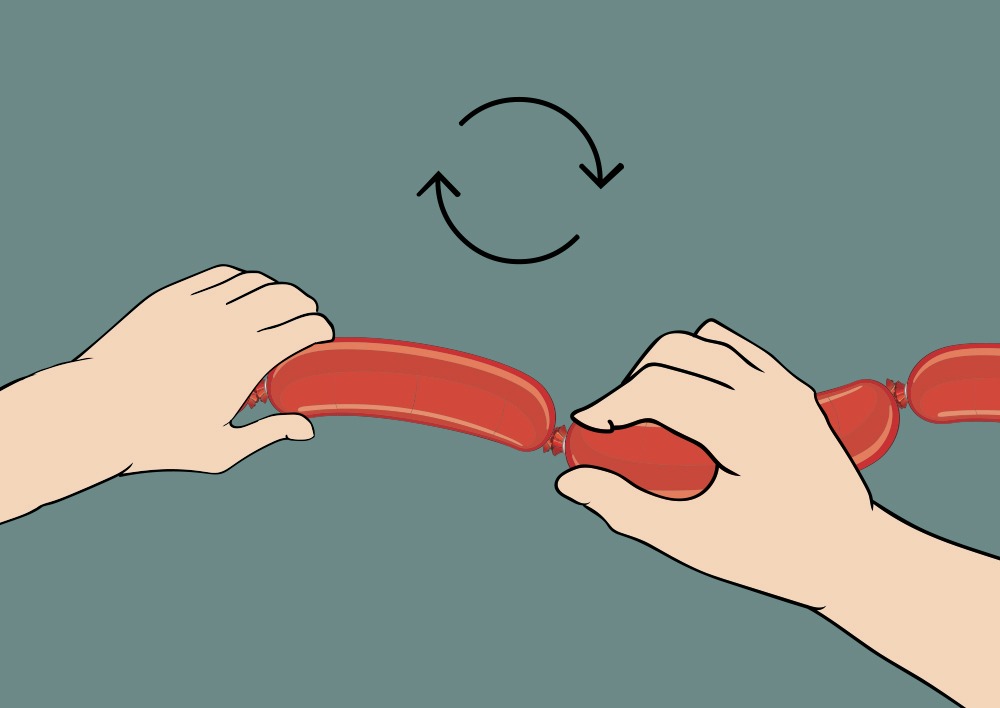
Once you have processed all the meat through the stuffer you should have one or more coils of sausage. Linking the sausage is simple. You’ll measure roughly 6” from the end and then squeeze at that point to separate the meat slightly. Now twist the end a few times towards yourself to create a single sausage.
Next measure another 6” sausage and this time twist the link away from yourself. It is important to alternate twisting the link towards and away from yourself. This stops the links from unravelling.
Continue repeating this process until you have linked all your coils.
You’re done. Congratulations Professor Salumist!
Looking at all these steps, it comes across as a lot of work. Don’t stress though. What you’ll find is that after a few sessions, you’ll have this whole process mastered. It will be a seamless, simple job.
Our family, and many others too, have a sausage making day each year. It’s a social event which always involves a few beers and lots of laughs. On this day we also produce a lot of meat then divide it up amongst the families. By storing it in the freezer, it will last us months.
What to do with your sausages once they’re finished
Option 1: Cook it fresh
Place the sausages in a container and refrigerate overnight then they’re good to cook. Cook within 7 days or freeze them to extend their life.
Option 2: Smoke it
Some of the best sausages, like Chorizo, can be made by smoking. The traditional method involves smoking for 2+ days in a smoker. If you have the budget and the space, I highly recommend buying one these.
Cold smoking: involves smoking the sausage at a low temperature for a short time to add smoke flavour to the meat. The sausage is then cured through a drying process.
Hot smoking: Using heat to cook the meat while adding smoke at the same time.
Option 3: Dry it
To dry the sausages, hang them on a drying rack or you can also use a specialised drying chamber. A drying rack does a great job and you can use practically anything to drape the sausages over such as broomstick handles suspended from the rafters.
To dry meat you’ll only be able to do it at certain times of the year. If the temperate drops below 40 degrees F (-2C) the meat will freeze. If the temperate rises above 50 degrees F (10C) growth of bacteria is a real possibility. You’ll also need humidity of around 70% air circulating through the room.
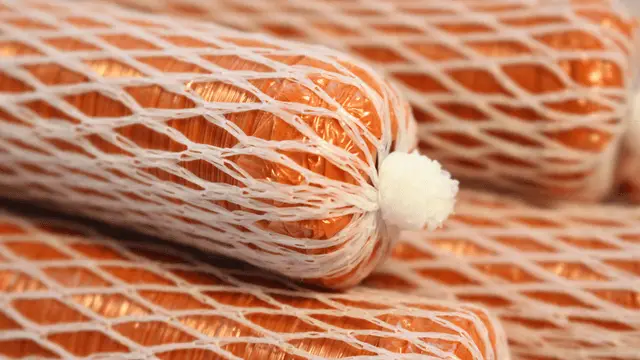
Dried sausages can be stored for 6 weeks in your pantry or indefinitely in your fridge.
More Sausage Fun Facts
→ During World War 2, sausages had a lot of water in them causing them to explode. This is how they earned their name, bangers.
→ Pork is by far the most popular choice of meat for sausages (over 80%).
→ Fillers such as cornstarch, flour and gums are used in cheap store bought sausages.
Popular recipes to get you started

Concluding Comments
Making sausage at home is rewarding and a lot of fun. I still remember my first attempt at using a sausage stuffer. It didn’t go so well. Since then I’ve developed my skills and have learned to make a big range of different sausages.
Now it’s time for you to have a go at making some. If you can afford it, I highly recommend buying a meat grinder and sausage stuffer. It will make life a lot easier and a basic one won’t cost you the earth.
And finally, if you have any questions please shoot us an email or connect with us on social media. We’d love to see your sausage creations too if you get the chance!
Happy sausage making!

Leave A Comment