Drying sausages at home can be very rewarding. Whether you’re making your own beer, cheese, ice cream, sausages or any other food at home, it really is hard to beat. A sausage that’s made with your own carefully selected, natural ingredients will always tastes better a store bought product filled with unwanted extras.
This article assumes you already know how to make your own sausages and are at the drying stage. If you need to jump back to the start, check out our ultimate guide to making sausages. This will help you get set up and assumes you have no knowledge on this subject.
The bad news about drying sausage first
Drying homemade sausage can also be a health risk if the drying process isn’t treated with respect. Dangerous food poisoning bugs such as Clostridium botulinum love the oxygen-free, warm sausage center.

You don’t want this on your meat.
This increases the risk of infecting your meat and, in some rare cases, causing death. It is believed that up to five percent of people who contract the illness will die.
Now the good news
But wait! Before you close this page and decide not to make your own sausages consider this: the risk can be handled by the simple inclusion of curing salts.
What are curing salts?
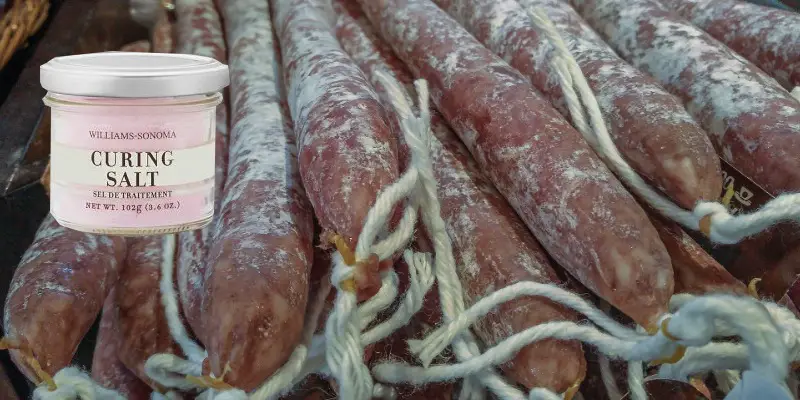
Curing salts are unlike normal table salt. They contain Sodium Nitrate (Insta cure #2) or Sodium Nitrite (often called pink salt). They repel and kill the bacteria. These salts usually come in mixtures containing about 0.2% Sodium Nitrite. It is important to use small quantities of this salt. In large amounts it can be dangerous to consume.

Curing salts allow you to safely dry meat.
Which curing salt is best?
Depending on how long you plan on drying your meat, different salts will be more useful.
- Since Sodium Nitrate converts to Sodium Nitrite over time, it is better for longer drying sessions of 6 weeks or more.
- Sodium Nitrite is more useful for shorter drying projects.
How much salt should I use?
It is recommended that you apply 2 tablespoons (30 grams) of curing salt per 2.2 pounds (1kg) of meat.
How to safely dry your sausages
Before adding the curing salts, your meat must be prepared for the drying process.
- Start by cutting the meat into chunks and removing excess fat (about 20% fat is a good amount).
- Make sure your meat is cold so it won’t clog the grinder then feed the meat through the grinder. If you find that the meat is getting stuck, you can use cooking spray or silicon to ease the process.
- After the sausage is ground, you can start to add in your spices and seasonings. Commonly used ingredients are sea salt, paprika, crushed red pepper, fennel, and pepper. If you would like your sausage very spicy, you can add in cayenne pepper to bring some heat to your dish. You will need to add in the curing salts at this point.
Curing sausages with a starter culture
Another preventative technique you can use when drying sausage is to use a starter culture of bacteria such as LS-25 or any strain sold as Bactoferm. You’ll need to add it to your salt mix at 2 ounces per 10 pounds of meat with three ounces of dextrose sugar. They will feed on the sugar and excrete lactic acid, a similar process to yogurt-producing bacteria. This will lower the pH of the sausage and prohibit bacterial growth.
After all of these things are added, put on your mixing gloves (rubber or latex will do just fine) and start mixing your sausage until all seasonings are evenly spread. This is a very important step because it is crucial that the curing salt gets dispersed through meat.
This bacteria should be added to your meat before it begins to dry and must be first dissolved in a little bit of water. This method also adds a nice acid tang taste to the fermented sausage. If this method is used however, it must be kept in a very warm moist place for the first 24 hours to give the bacteria a head start. I recommend a tall box with a light bulb at the bottom or something along those lines.
Insert the sausage into the casing, which should have been soaking in water up to this point. You do this by attaching your sausage casing to the stuffing machine and tying a knot on the other end. If you don’t have one of these it will be very hard to make your sausage. Fill up the sausage stuffer to the max because you do not want air bubbles in the sausage. After the casing is filled, tie it off with another knot and it is now ready to be dried.

Sausages lose around 30% of their weight during curing.
The Drying Process
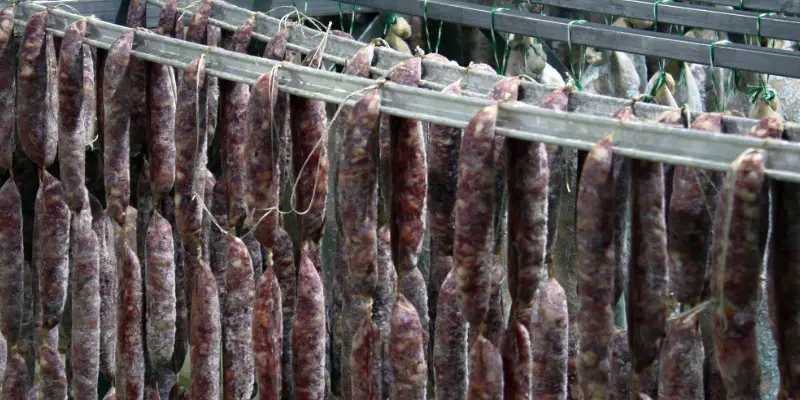
During the drying process, it is ideal that the temperature stays around 60F (15.5C) and humidity stays around 70%. Humidity below 60% can cause the outer casing of the sausage to dry too fast and prevent the inside from drying. A good way to increase the humidity in a room is to hang the sausage above a bowl of water or place a humidifier in the room.
The sausage is complete when it has lost at least 30% of its original weight. There may be dry white mold on the casing. That’s not a problem – this is good mold and is harmless. Black and green mold is bad however, and if seen, you’ll need to throw away the sausages and start over. If there is just a little bit you can just scrape it off with a cloth dipped in brine.
A quick recap of the entire sausage making process
The whole process should involve chilling your meat and then mincing it however you see fit. Then, you will dissolve the LS25 culture in water and add it to the sausage along with the appropriate amount of curing salt. After that, you can add it other ingredients and mix-ins such as garlic, red wine and spices to add flavor to your meat. Stuff the sausage then into soaked casings and remove air bubbles. Hang it in a warm place for the first 24 hours and then move it to a cool damp place until the sausage has lost 30% of its weight.
Making sausages at home is a rewarding and you’ll end up with some high quality sausages. But before you dive into making them, familiarize yourself with how to make them safely.
Following this guide will allow you to make tasty sausages, free of bacteria and mold. If you would like more instruction on this topic, you can reference books such as Cooking by Hand by Paul Bertolli. If you can get some help from a professional or friend who has sausage making experience, that would also be a big help.
Happy sausage making!


Leave A Comment