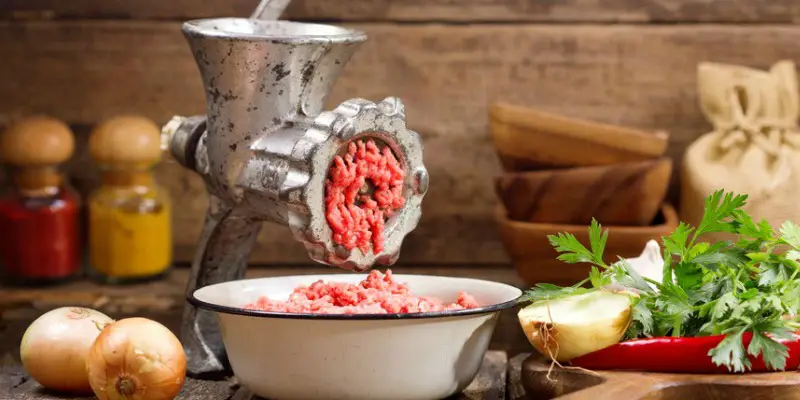
Back in the day before supermarkets, grinding meat at home was extremely common. Now it seems to have been put in the too hard basket. A challenging activity best left for butchers and food geeks – the type that have to DIY everything.
The fact is, some food preparation is best left to the professionals but when it comes to meat grinding, that’s not one of them. It’s surprising how simple the process is and the meat you end up with is amazing. It’s so much better than the store bought version.
Why you should grind your own meat
- The taste is vastly superior to the supermarket option
- You control what goes into the meat – no added junk
- It looks fresher and a lot more appetizing
- You can reduce the fat content of the ground meat
- It’s often a lot cheaper to grind your own rather than purchasing pre-ground
- It’s safer to use freshly ground meat if you want to make a rare burger, rather than a well-cooked one
Ready to get started?
Before we go into more details, I should probably point out the obvious. You’ll need a meat grinder to follow the information on this page. If you don’t already have one you have two options: either check out my research on best meat grinders that will help you choose the right tool for your needs. Otherwise, you can learn how to process meat without a grinder.
Getting the meat-fat ratio right
One of the biggest perks to grinding your own meat is that you’re in control of the ingredients. Beef, chicken, fish, pork, venison, goat. Anything’s possible. Feeling a little adventurous? You can choose a combination of meats. Combining meats is actually quite common. You can check out this Bratwurst recipe which combines pork and veal to make a scintillating sausage.
Before you get too carried away with your recipes remember there’s an important saying: fat is your friend. It stops the meat becoming dry when cooked. I work on a minimum of 20% fat in the meat. In some cases more is advisable, but 20% makes excellent meat.
Your butcher can help with the fat
Pay a visit to your local butcher and ask if they have any fat off-cuts that you can have. When working with very lean meat, you can add a small quantity of this fat to the meat to up the fat ratio. This is a great trick when working with poultry or seafood.
Which cuts of meats are best to grind?
Shoulder cuts, also known as the butt, work exceptionally well for common meats like pork, lamb and beef. Butchers choose this cut for their blend of fat and muscle that allows for a lovely ground meat. The shoulder is commonly used to make an 80/20 blend.
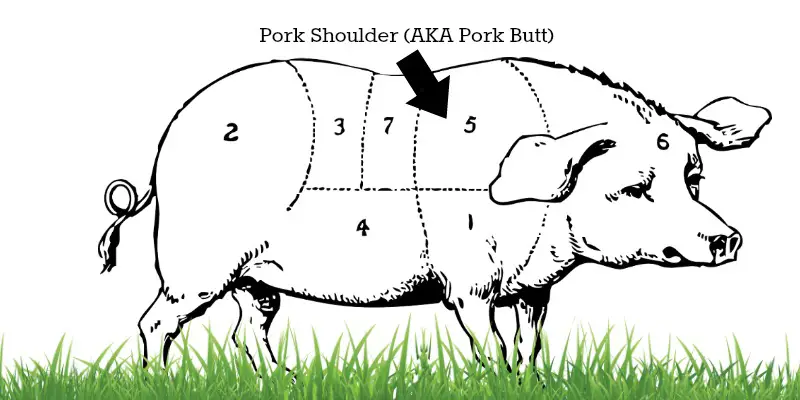
The pork butt is excellent meat for grinding.
Other cuts of meat such as the shank and brisket have a slightly higher fat content and work well in a 75/25 blend.
Wanting lean ground meat?
If you enjoy less fatty meat then a 90/10 blend is what you’ll want. Be warned, don’t overcook this meat as it will become tough and tasteless! To achieve a 90/10 mix, select a leg cut from the beasts rear, or you can simply trim off the fat from a fattier cut.
Turkey or chicken are also great options for mincing really lean meat. This meat also tends to dry out quickly when cooked.
Seafood options for grinding
Look for fatty meats to mince like salmon as this fish holds together perfectly in burgers and are lovely and tender. For dumplings, meats like shrimp, crab and lobster are ideal.
How to Grind Meat
- Clean all the components of your meat grinder. Hygiene is an important part of meat processing.
- To improve your grinding, thoroughly chill all the parts of your grinder in the freezer. This includes the blade, plates, and grinding tray.
- Decide what meat to use. See the above section on choosing the best meat.
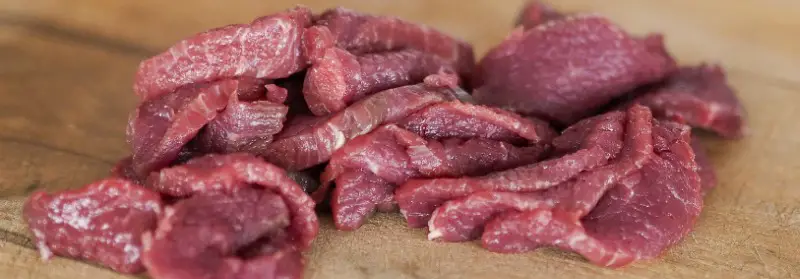
- Use a sharp knife to cut meat into small enough pieces to fit in the opening of the grinder. Remove any skin on the meat.
- Pop the meat onto a lined baking tray, cover with wrap and freeze for 1 hour. Firm the meat but don’t let it freeze.
- Select which grinder plate to use: coarse or fine. Note: if you’re making sausage a finer plate is a good choice.
- Switch on your grinder and feed the meat into the grinder. Use the stomper to push down the meat, not your fingers!
- Catch the meat in a large bowl.
- Get cooking! Burgers, sausages, meat balls? It’s up to you and your imagination.
Tips for grinding meat
Chill your chopped meat before grinding
Chill your chopped meat before grinding, because this will make it firmer and make it easier for the grinder to handle. Room temperature meat is more likely to clog the grinder, while semi-frozen meat should hold up better and pass through with less trouble.
Ensure your grinder has been thoroughly cleaned

Ensure your grinder has been thoroughly cleaned, so that there is no risk of contaminating your meat with bacteria from old grinds. Some people clean their grinders both when they have finished processing a batch of meat, and again before they process the next batch.
Clamp your grinder firmly onto the bench if necessary

Clamp your grinder firmly onto the bench if necessary. It’s important to ensure that the grinder is secure before you start grinding with it, or there is a greater risk of injuring yourself if something slips. Use a stable surface whenever you are grinding meat.
Final words
Grinding your own meat is easy, fun and delicious. That first burger you eat, using your own ground beef, will be exquisite. I assure you.
By following the steps I outlined above you’ll be processing hunks of meat into all kinds of tasty meat morsels in no time. Just remember to always keep your tools clean. The last thing you want is a bout of food poisoning.
Safety is another really important part of grinding meat. I know at least one family member who’s sustained a meat grinding injury. Trust me, they aren’t pretty. Thankfully, most modern grinders have safety at top of mind. There are loads of safety features but even the safest machine can cause damage when you’re not concentrating.
Now it’s time to go forth and grind meat. Get a little creative and have some fun in the kitchen. Your body deserves some wholesome, fresh meat that you could never buy from a supermarket.
Frequently Asked Questions
Q: Can you freeze freshly ground meat?
A: It is best to use your freshly ground meat straight away if you can, but if you prefer, you can freeze it instead. Put it into a clean container, put the lid on, and put it in the freezer as soon as possible. You should then thaw it in the fridge when you are ready to use it.
Q: How cold does the grinder need to be?
A: You should put your grinder and all of its components in the freezer at least one hour before you intend to use it. If you have a large freezer, you may wish to keep the grinder in there at all times, but if not, simply freeze it before you are ready to grind the meat.
If you are grinding a lot of meat, re-chill your grinder partway through so that you are still working with cold equipment. Putting it back in for half an hour or even fifteen minutes should be sufficient.
Q: Should you grind the meat twice?
A: You don’t have to grind the meat twice, but many people find that this gives the best results. This is particularly true for burgers and anything else where a really fine grind is important.
Q: What temperature should you cook ground meat at?
A: To be safe to eat, ground meat should reach an internal temperature of 165 degrees Fahrenheit at least. Follow the recipe’s guidelines for different kinds of meat. But remember that for some meats (e.g. pork), ground meat needs to be heated to a higher temperature than chunks of meat.

Leave A Comment