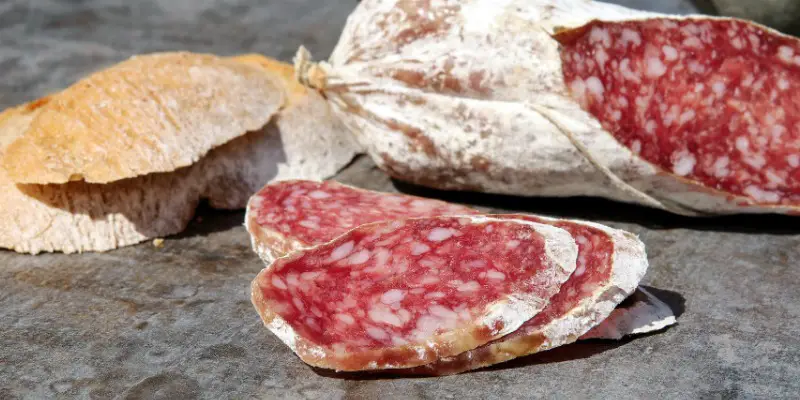
Sausage casings are an essential part of making wieners at home. Their job is to encase the sausage meat so that the sausage holds its shape. Sometimes they also add flavor to the sausage such as smoked casings for hot dogs.
When you start out making sausage it can be a bit daunting. There are so many options! Whether it’s the cooking style, the ingredients or those casings which seem to be available in 100 varieties. Don’t fear, we have all the information you’ll need to get started without all the mistakes we made the first time.
What is sausage casing made of?
| Natural casings | Collagen casings | Cellulose casings |
|---|---|---|
| The most natural casing. Made from cow, pig or sheep intestines. | Highly processed animal collagen that is extruded. | Vegan casings primarily derived from plant cell walls. |
1. Natural casings
Sausages made at home are commonly cased in sub-mucosa – the intestines removed from the cow, sheep or pig. It doesn’t sound appealing, I know. But keep in mind this is a very natural method of encasing sausage that has been used for centuries.
Natural casings are sporadically shaped because the intestines are scraped on the inside and out. They tend to be porous and fragile when wet. When dried they become much more resilient. This is the reason casings are often dried when stored and sold at the store.
You’ll find that pig casing is the most commonly used option in the popular sausage regions of Europe such as Italy and Germany. Sheep, goat, beef and, dare we say, horse intestines are used in other parts of the world.
Check out Amazon for a fantastic range of natural casings. [Note: Affiliate Link]
2. Collagen casings
Although these casings also come from natural products, they are a lot more processed. Animal collagen is processed and then extruded to make different sized casings.
Collagen casings come in a wide range of variations: some common options include fresh, processed, rounds and middles.
- fresh casings are edible and don’t need soaking. They are clear which makes them perfect for fresh and breakfast sausages.
- processed casings are edible and make the ideal companion for hot dogs, smoked and cured sausage.
- rounds are non-edible and are used for sausages like bologna and summer sausage.
- middles are non-edible and are commonly used for bologna and salami.
Check out Amazon for a fantastic range of collagen casings [Note: Affiliate Link]
3. Cellulose casings
This is derived from plant cell walls and produces a resilient, translucent casing. These casings are ideal for those on a vegan diet. They are also used by commercial manufacturers to make skinless sausages.
If you’re vegan and want to make your own sausage, check out my vegan sausage guide.
Are casings edible?
All sausage casings are safe to eat. Whether they’re all enjoyable to eat is another question.
Cellulose casings and some natural casings are perfectly fine to eat. The chances are, if you’ve ever bought sausages from the supermarket they would have a casing that you ate.
However, some casings are not meant for eating as they are simply too thick or aren’t enjoyable to eat. Some collagen casings are produced for the purpose of encasing salamis and larger sausages. They are always peeled off. Skinless franks are encased in a cellulose casing which is also removed after cooking.
Beef casings are all inedible and are used for casing meats such as large sausages, mortadella, hard salamis and liver sausages.
How should casings be stored?
Salt enables casings to last a long time before going rancid. You can easily store casings in the fridge for one year.
How to prep sausage casings
It’s very important to prep casings before stuffing sausages at home. They come packed in salt so you’ll need to wash all of that off first.
- Place the casings in a bowl and run water over them. Try to be gentle when you do this so they don’t get tangled.
- Soak the casings in cool water for 30 minutes then rinse with fresh water one more time.
- Now take each casing, one at a time and flush cool water through the inside of the casing to get rid of any salt. Repeat that process for each casing.
Once you have finished rinsing each casing, place it in a bowl of water with one end dangled over the side of the bowl. That way you won’t waste time trying to find the opening to each casing.
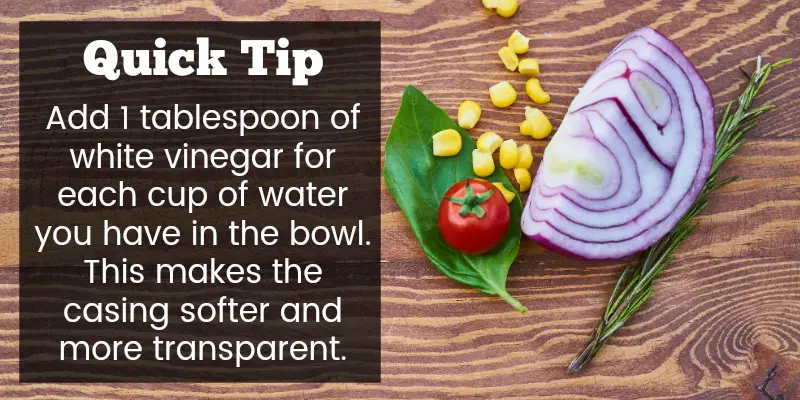
Quick Tip
When you soak the casings, add 1 tablespoon of white vinegar to the bowl for each cup of water you have added. This makes the casing softer and transparent.
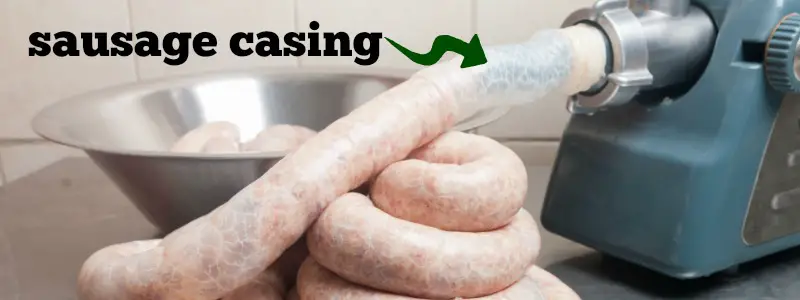
Once your casings are prepared you can start making sausage. It’s time to pull out your sausage stuffer and get stuffing!
How to remove a sausage casing
When making homemade sausages you’ll need to remove the skins on some of your creations. For example, the casings of Italian sausage are often removed.
Removing the casing isn’t always an easy task. It tends to stick to the meat, break into pieces and cause a lot of headaches if you’re skinning a lot of them.
If possible, it’s best to peel sausages when they are frozen. Simply run the meat under warm water for a few seconds first then follow these steps:
- Place your sausage on the chopping board.
- Using a very sharp knife, lightly cut along the sausage length-ways.
- Peel off the casing and add the sausage meat to your dish.
Final words
Making sausages can be very rewarding. You get amazing tasting meat that’s super fresh and doesn’t have the added fillers. I find that some newcomers to sausage making find it daunting trying to understand which casing to use and how to use them. My advice is to simply jump in and experiment. Learning from your mistakes will help you pick up the art and science of sausage making much quicker than reading what someone else has to say. So dust off your sausage stuffer and see where this fun pass-time takes you.
I never take the casing off my home-made sausage when I cook it. I found by soaking your casing 24 hours before stuffing them, it makes the casing more tender. If you leave the casing on when cooking your sausage helps hold in the juices and makes the sausage more tasty.